

A couple of months ago I got to design a room for a client that was looking for an elevated cottage style for their master bedroom. While doing inventory of the needed pieces for the room, I noticed they had a dresser that was left behind from the previous owners (score!). I assured them that the dresser was in perfect condition, but it needed some help to fully shine. Here comes the fun part! Today I will be sharing step by step on how I transformed the Ikea hemnes dresser.

For this DIY, I used:
- Half round wood trim
- Extra strong wood glue
- Hand mitre saw
- Tape
- Wood filler
- Paintable caulk
- Paint
- Knobs from Zara
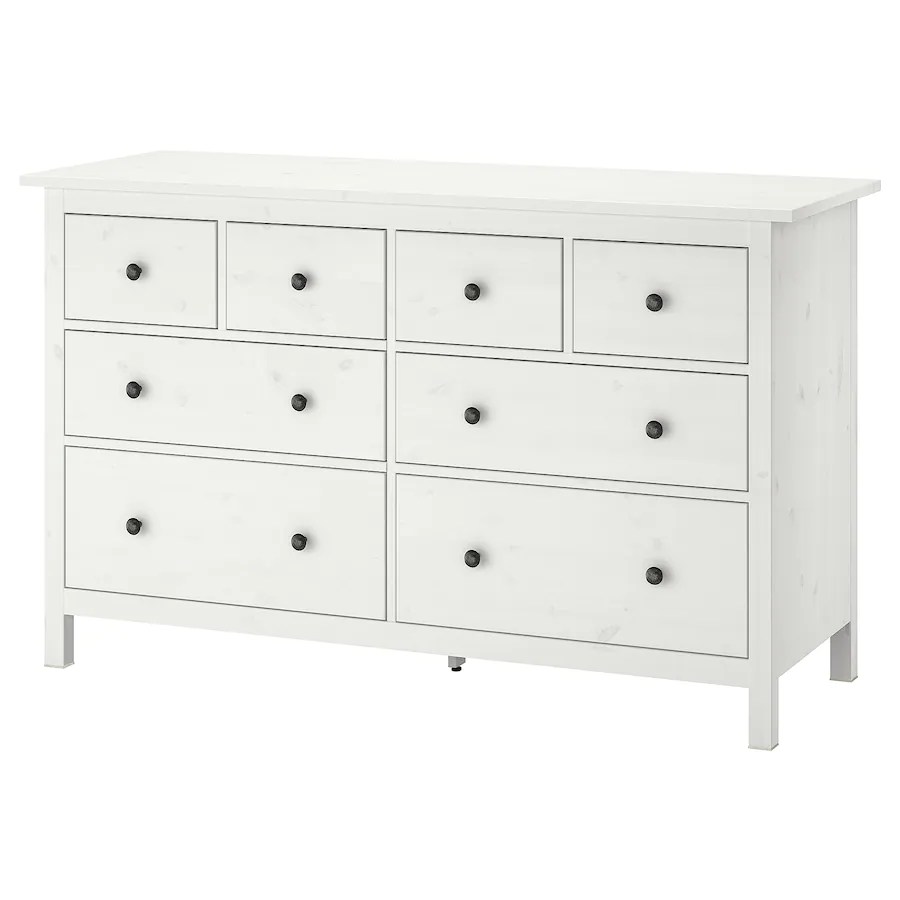
- Hemnes Dresser
Step by step
- Paint your trim before making any cuts.
- Measure each door and write down your measurements.
- Now we get to cut the trim with the hand mitre saw. I cut in 45-degree angle and I had 32 pieces in total.
- Once everything is cut it’s time to glue each piece to the dresser. Use tape to keep each trim in place.
- Let it completely dry and get to caulking and fill any gaps with the wood filler.
- Once everything was dry I got a very small paint brush to go over the wood filler.
There you go! New dresser in only 6 steps. I hope this step by step is clear enough to motivate you to hack your old dresser too.


Leave a comment